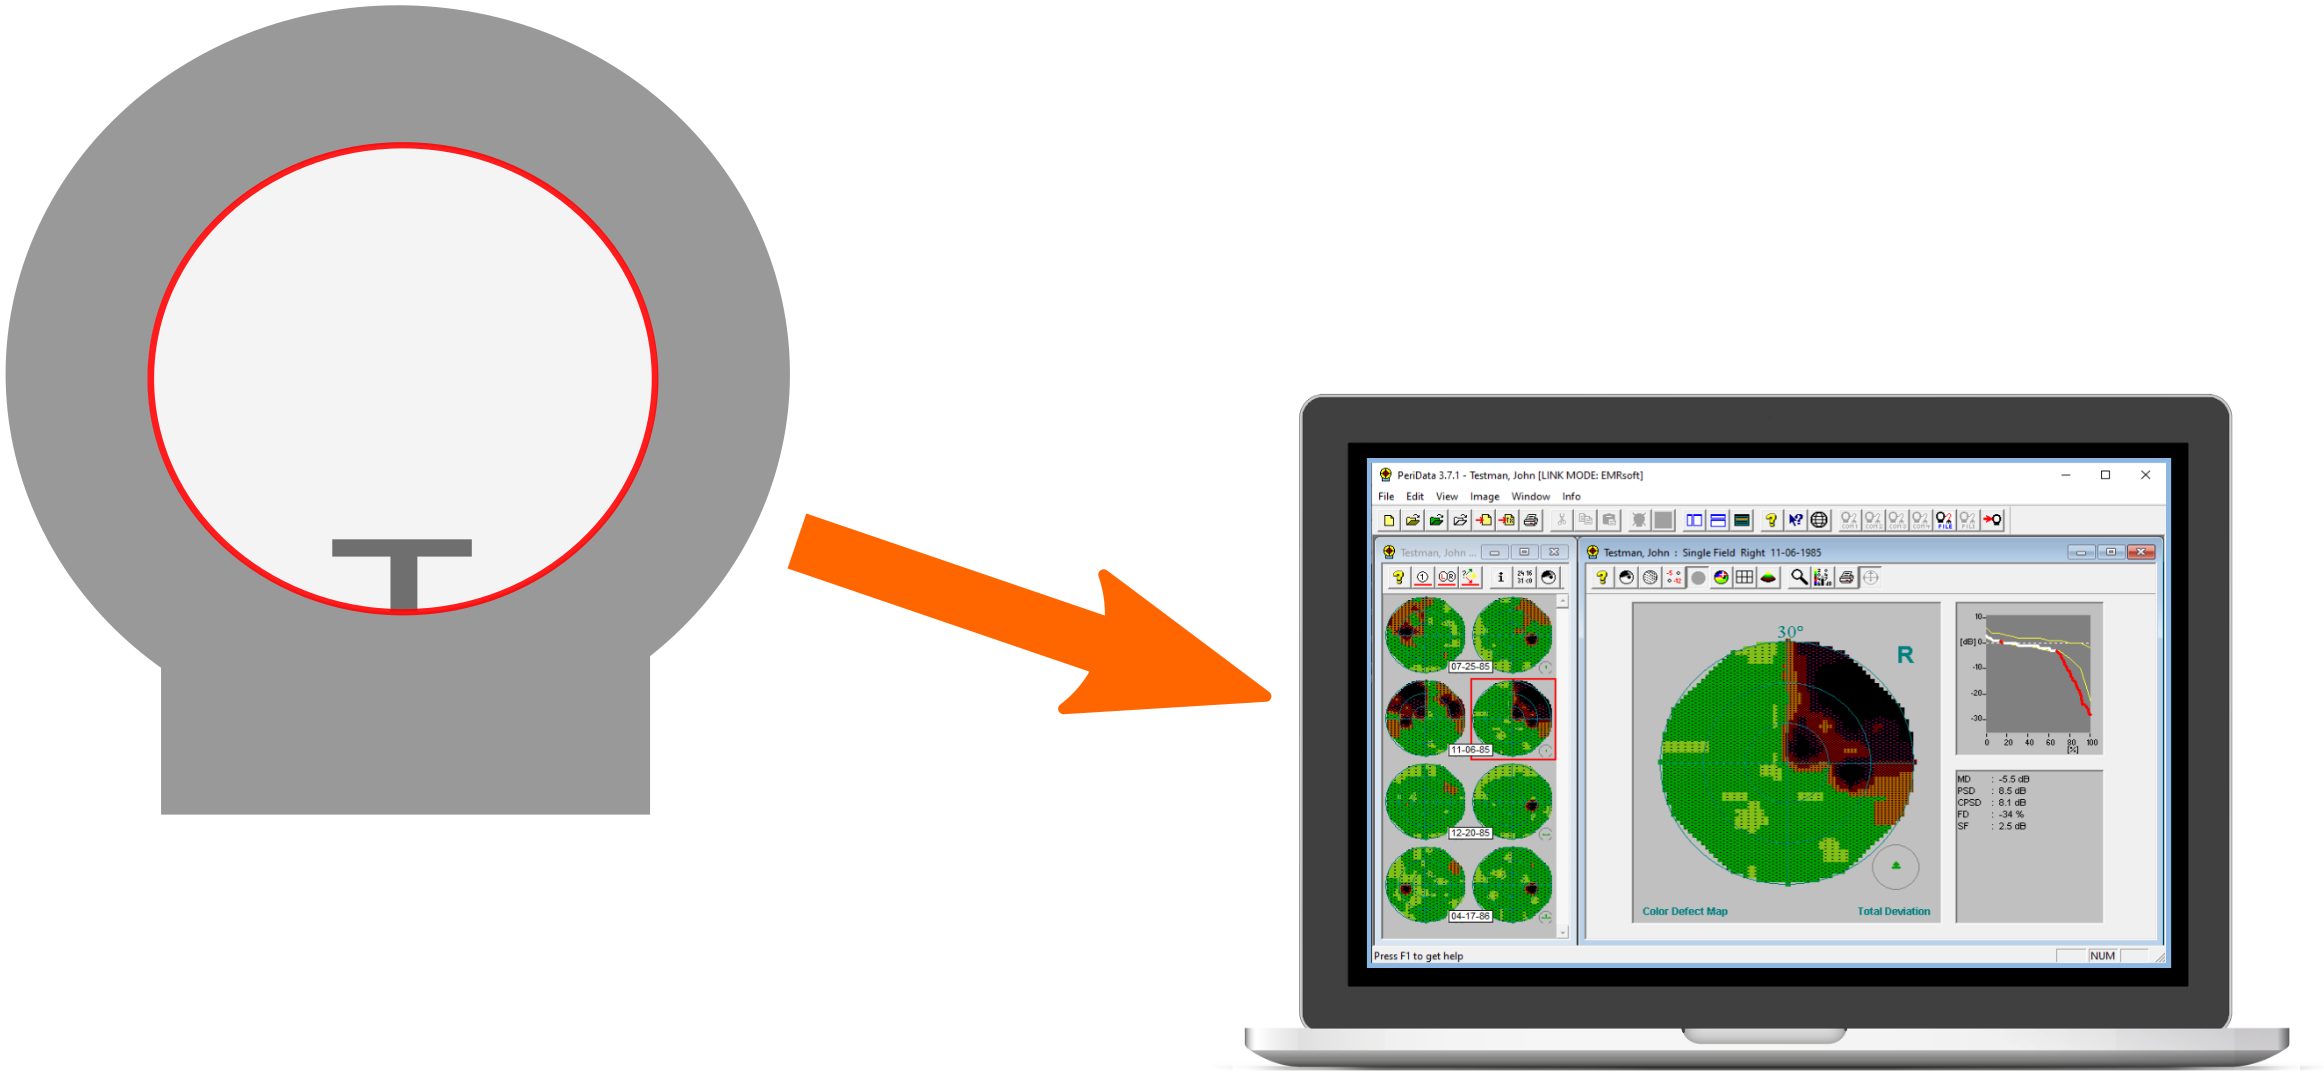
Data transmission
Data transmission is quick and easy. There are 2 elements:
1. the perimeter sends the data
2. PeriData receives the data and stores them
The next tiles show the transmission procedure
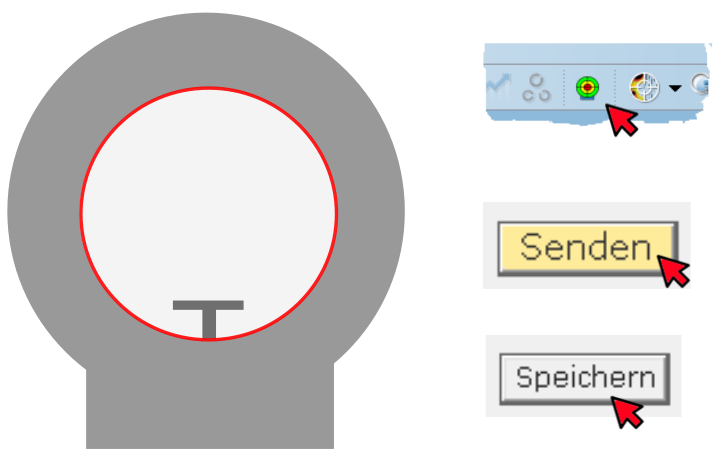
1. Step: Sending data from the perimeter
The transmission procedure depends on the devise type  . With automatic transmission after the examination, the data are sent with a click on the SAVE button automatically. With controlled transmission, the examination is sent to PeriData with a SEND button
In addition, stored examinations can be opened in the perimeter database and send to PeriData
 start the movie with a click
click to stop the movie

2. Schritt: Reception of the data by PeriData
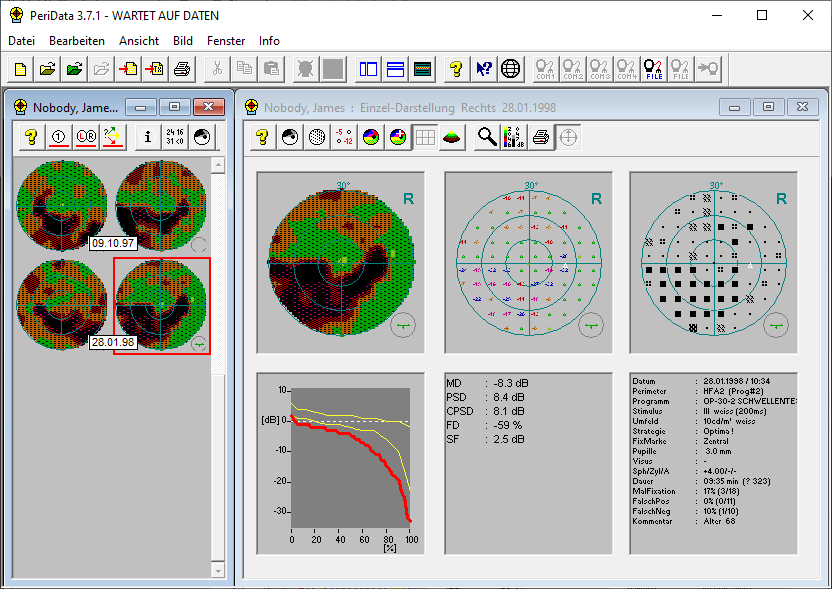
PeriData "WAITING FOR DATA"
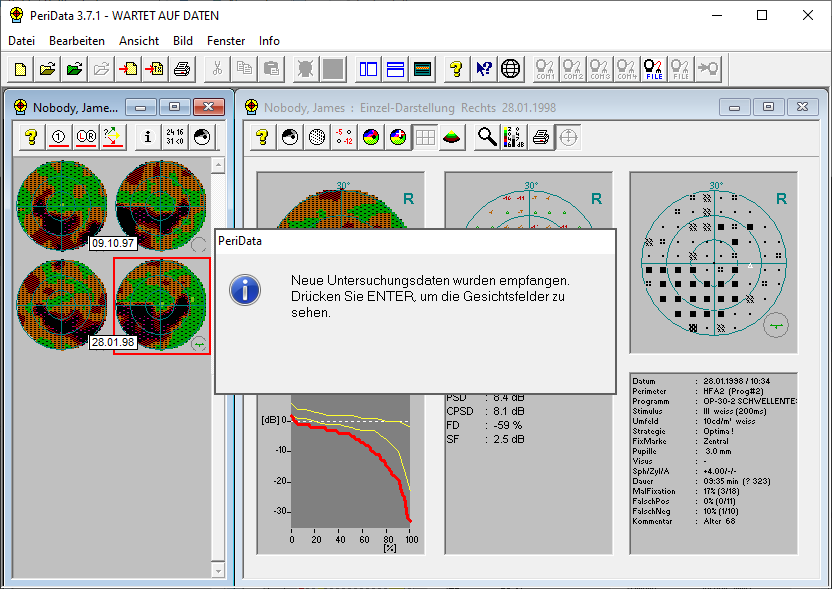
New data have arrived and are stored. A message shows up for 2 seconds
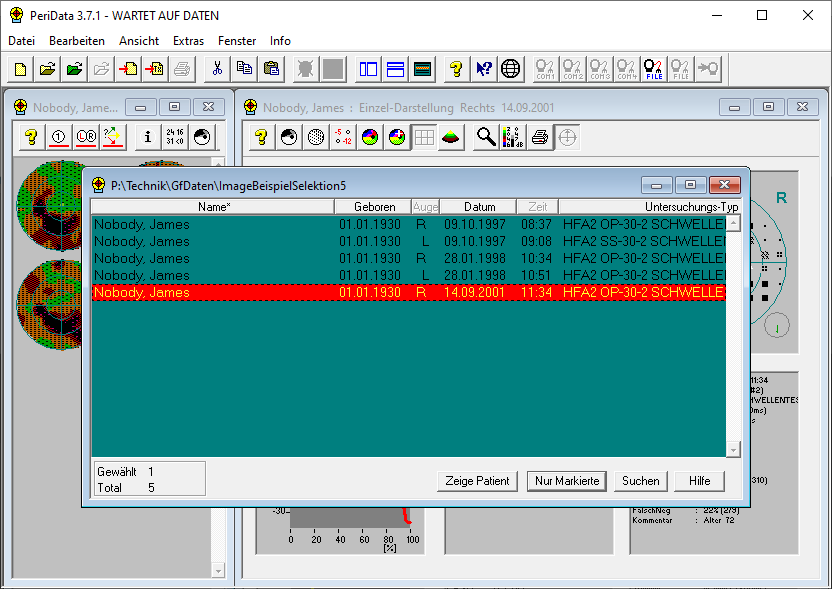
The database window is automatically moved to the top. The red bar is positioned on the new examination. Now you press ENTER
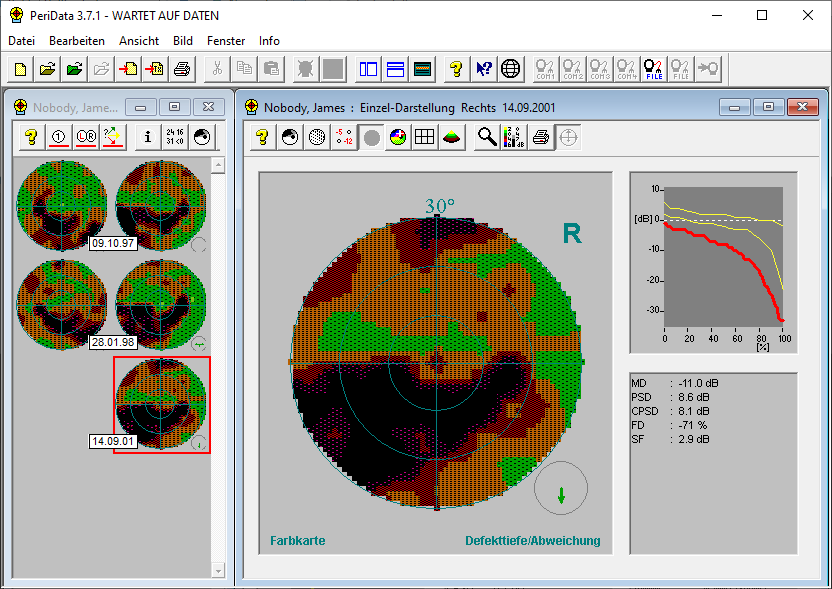
The result of the new examination is shown
