Installation Guide (Standalone on 1 PC)
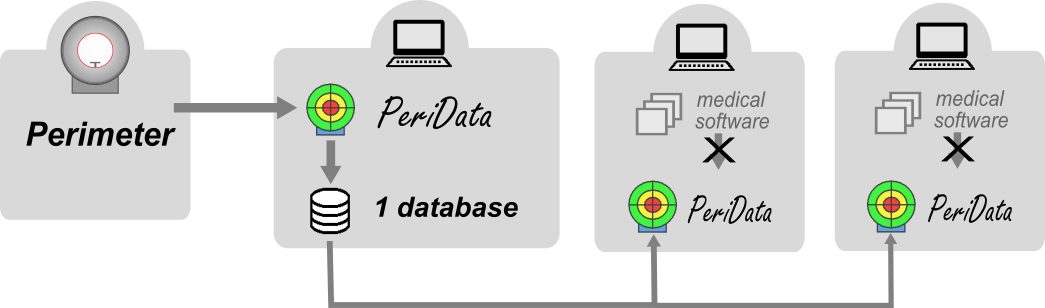
INSTALLATION TYPE: There are 4 different types of installation of PeriData in the network. This guide describes the STANDALONE SOLUTION to an EMR software. Information about all 4 installation types
1. Install the program 
- download the newest version of the setup file from www.peridata.com
- install PeriData on your PC
- choose the suggested program folder
- TEST: start PeriData > open with Button "WITHOUT LICENSE" (license key registration can be done later) - does PeriData start?
2. Connect the Perimeter and PeriData (only at the perimeter workstation)
- open info: Perimeter > Connection
- click on the instrument type >> the special help page opens
- perform all 3 steps
- TEST: send examination data form the perimeter > PeriData: open a new database > data received?
3. Create the database directory
4. Create your standard database
- create a new database (CTRL+N)
- save as (CTRL+S) .. into the database directory
- recommended name = name of the institution without special characters (e.g. "EyecenterDocMiller.phf", "EyeclinicNewtown.phf"..
- create a text file "PeriwinStandardDatabase.txt" in the folder C:\PeriDataExchange and write the complete file path of the standard database into the first line
5. Setup the backup routine
- The daily backup should include the database directory (.../PeridataFiles) with the database files *.PHF and *.PHD
6. Using PeriData
- At all workstations PeriData is started by clicking on the icon on the desktop. Commandline parameters are not needed. PeriData may be put into the autostart.